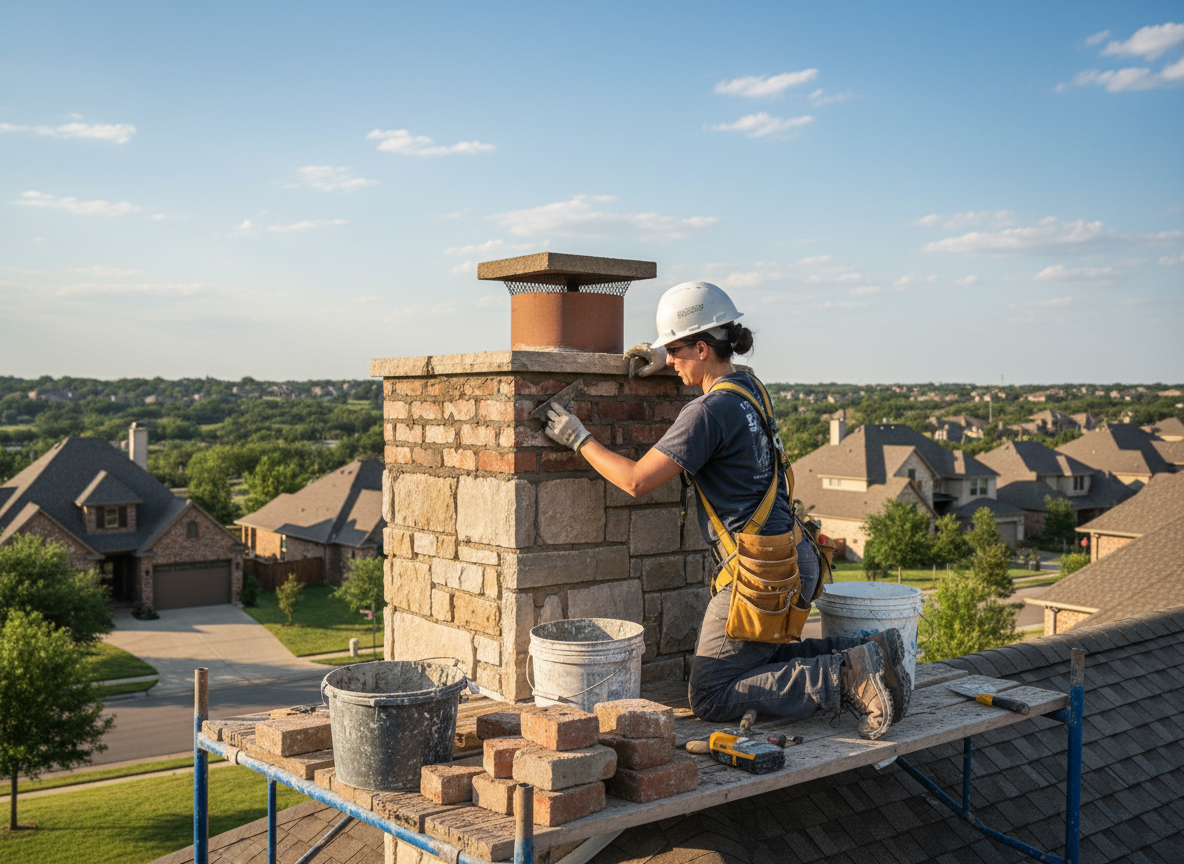
Chimney repair in Benbrook often starts with checking mortar joints and flue liners after heavy spring rains and summer heat cycles crack brickwork on mid-century homes common in the area. Homes near Lake Benbrook see extra moisture retention that speeds spalling on exterior masonry, requiring tuckpointing and proper flashing resets rather than surface patches. Servanta Edge techs inspect from the roofline down to the firebox, noting how wind-driven rain from the west funnels water behind crown caps that were never sealed for this climate.
Tarrant County building practices from the 1960s and 1970s left many chimneys with single-wall flues that now fail under repeated temperature swings between 100-degree days and sudden cold fronts. Repair work frequently involves removing loose tile, installing stainless steel liners sized to the appliance, and rebuilding the smoke chamber to restore draft without adding unneeded height that catches more wind on open lots. Skipping the smoke chamber rebuild leaves owners with persistent smoke spillage once the first winter front arrives.
Benbrook soil shifts slightly with seasonal moisture changes, which can tilt foundations enough to crack chimney bases over decades. Crews check for separation at the roofline and add proper cricket flashing when re-roofing neighbors report similar movement. These steps prevent water from entering the attic space along the chimney chase, a common hidden issue in single-story ranch homes throughout the neighborhood.
Technician insight
In Benbrook, the thing that catches most people out with professional chimney repair is how the combination of clay-heavy soil and sudden downpours lets water sit behind the flashing at the roofline long enough to rot the chase framing before any visible leak appears inside.
West Benbrook Ranch Chimney Leak
Heavy May rains had water entering the attic along the chimney on a 1972 ranch near Dutch Branch. Inspection showed failed step flashing and cracked crown mortar. We rebuilt the crown, installed new lead flashing tied into the existing shingles, and added a stainless liner sized to the furnace. No further moisture reached the attic after the next storm.
How it works
- 1
Initial Assessment
Arrive on site and examine the chimney exterior, crown, flashing, and interior flue from top to bottom.
- 2
Detailed Diagnosis
Use camera inspection to locate cracks, liner damage, or creosote buildup affecting draft in Benbrook homes.
- 3
Repair Plan
Explain findings and provide a written scope covering materials needed for the specific brick and flue type.
- 4
Execution
Perform tuckpointing, liner installation, or crown rebuild while protecting the roof and surrounding masonry.
- 5
Final Check
Test draft and confirm water tightness before leaving the property.
Pricing
Upfront quotes given after on-site inspection; final cost depends on access, liner length, and extent of masonry damage.